Using the Web Editor to Edit documents
To make it easier for authors to add / edit documents, I installed a back-end web-editor onto the development site (hawthorneguild.github.io/Guides).
To access the web editor, go to https://hawthorneguild.github.io/Guides/admin
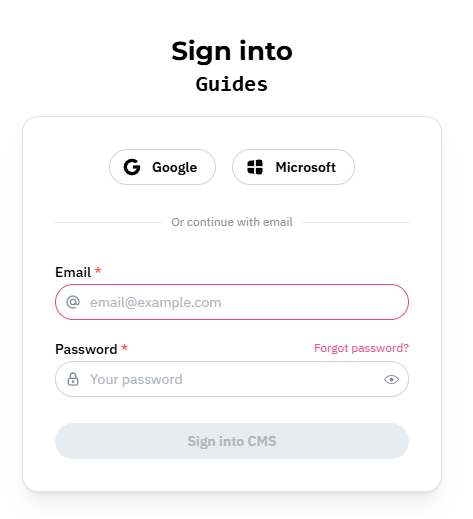
Note: Only those who have been granted access can login. Request an invitation from Luolang in Discord to get access.
Once logged in, you should see the main screen that looks something like below. The Collections on the left are the “books” or section of the website, and the center are the “pages” of the book.
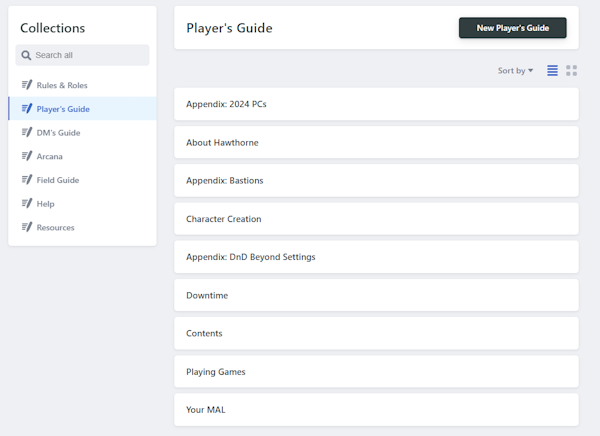
To edit a new page, click on one of the pages to open it up for editing. To add a new page, click on the button near the top right (in the example above, it’s the [New Player’s Guide] button.)
Once in, you’ll see the header “Front Matter”:
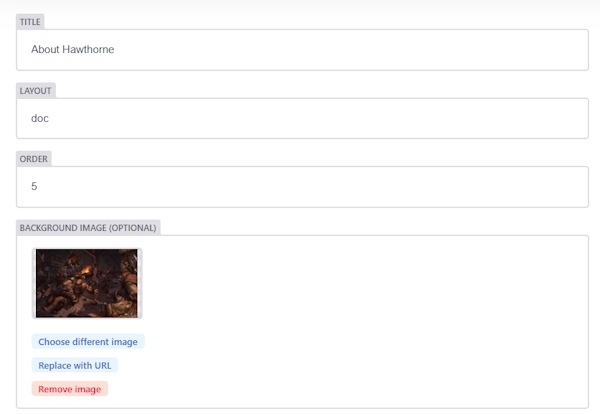
The Front Matter section is very important, it’s what the site uses to put the page onto the navigation menu. Give the page a title. the layout is always “doc” for your purposes, and the order dictates where it shows up on the navigation (so you might want to check what is the order before and after where you want to insert a page).
Typically I’ve numbered pages 10, 20, 30 etc. so there’s room to add pages in between without needing to update the page orders for every page in the section.

You’ll see at the top, the menu bar that supports the formatting, along with a toggle for “rich text” and “markdown”. Editing using rich text allows you to not need to know/use markdown format, but you must use the formatting buttons above. On the flip side, you can toggle to markdown. Markdown is basically what Discord uses. Of course, there is the option to toggle back-and-forth, which is what I am doing writing this because rich-text does have one big advantage: images.
In rich-text format, you can press the + button in the bar, and choose image. It will give you a couple of options, “Choose [different] image”, “Replace with URL”, or “Remove image”.
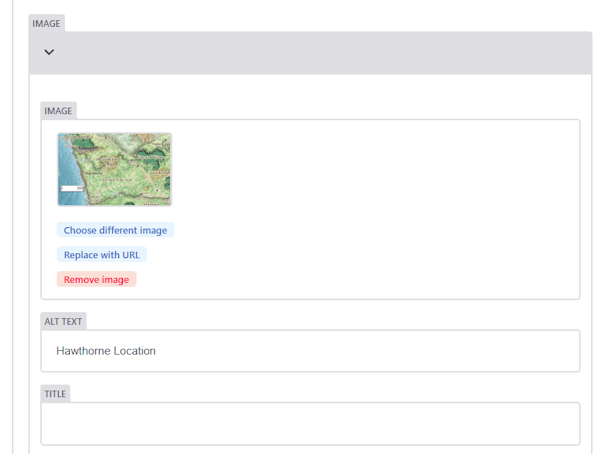
Choose image allows you to select (or upload) images to the server, whereas “replace with url” allows you to add an external link
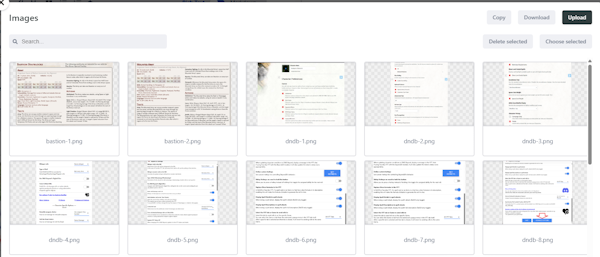
As you can see in the screenshot above, you can select an image already uploaded, or press the upload image to add an image to the site library, then select it.
Once you are done, hit the “Publish” button and it will load to the website in ~ 1-5 minutes.